My undisputed favorite holiday treat is peppermint bark. I’m not a big chocolate-lover, but there’s something about the combination of chocolate and mint that just hits me in the right spot. After noticing that various purveyors have been jacking up their prices for peppermint bark, I set out to make some of my own.
Here’s the tricky thing. I’ve not yet learned to temper chocolate. The chocolate you purchase in the store is already tempered. However, the act of melting it breaks down the crystal structure of the chocolate effectively removing it from temper. In order to temper it again, its cooling must be carefully controlled as the chocolate is worked to allow its crystal structure to form fully. This dense crystal structure is what gives the cooled chocolate a shiny surface, a pleasant snap when bitten into or broken, and a minimally increased resistance to melting in your hand.
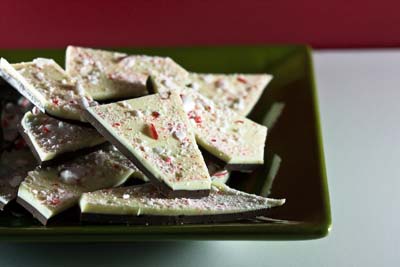
The following recipe will produce peppermint bark that is best stored in the refrigerator and consumed while still cool. If left to come to room temperature, it’s very likely to become a pliable, melt-quickly-in-your-hand mess. Fortunately the cool refrigerator temperature enhances the minty peppermint, and once the bark is in your mouth, it melts just as luxuriously as plain chocolate does. And it tastes just like Christmas.
PEPPERMINT BARK
Begin by preparing an 8" x 8" pan by carefully lining it with wax paper. I did this by cutting out two pieces that were roughly as wide as the pan and about twice as long. Then I laid them in the pan perpendicular to each other, taking care to allow the long edges to hang over the pan edges.
Next, melt the dark chocolate and stir in ½ teaspoon of the peppermint oil.
Carefully spread this along the bottom of prepared pan, smoothing it and working it to the corners with a rubber spatula. Place this in the refrigerator till firm, at least 30 minutes.
If you haven’t done so already, crush your peppermint. (There are many methods for doing this. My approach is to put the intended amount of peppermint into a heavy freezer bag, then squish the air out of the bag and seal it. Next I take my favorite heavy implement - in this case, my meat tenderizer though a pub glass or a frying pan would work - and pound on the peppermint till it’s as crushed as I like.)
Next, melt the white chocolate and stir in the remaining ½ teaspoon of peppermint oil. You will notice that I call for more white chocolate than dark. I’ve tried the recipe with equal amounts, but when dumping the hot white chocolate on the dark, it’s very easy to get dark streaks of melted chocolate showing through the white. Making that layer a bit thicker makes it easier to spread out without causing streaking.
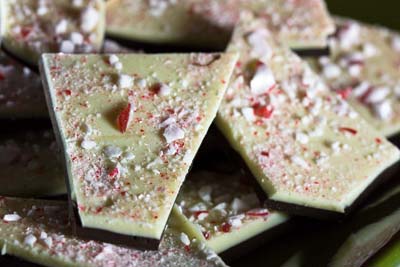
Spread this on top of the chilled dark chocolate, again smoothing and working it into the corners with a rubber spatula. As soon as it’s spread out, sprinkle the peppermint on top. Place this into the refrigerator till completely chilled, at least an hour.
Break the chocolate into serving-sized chunks. If the chocolate bends when you try to break it, stick it back in the refrigerator for a while longer.