My cooking life has changed quite a bit since having kids. I try to plan menus that minimize the number of hours I spend cooking while still providing a nutritious and flavorful array of foods. Some weeks this is easier than others.

Also, our one year old has eight teeth, all in the front. He gums food like a boss, but I still have to be a little careful that he can actually consume the food I cook.
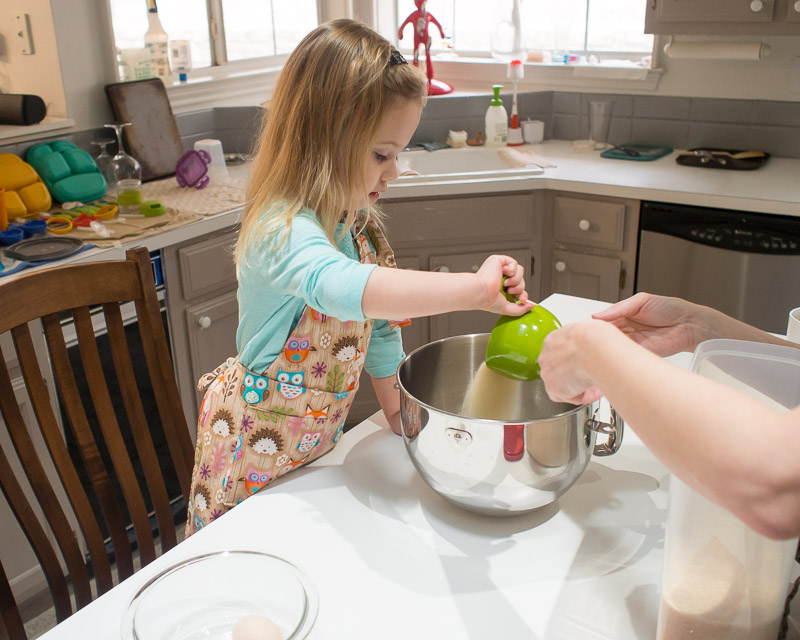
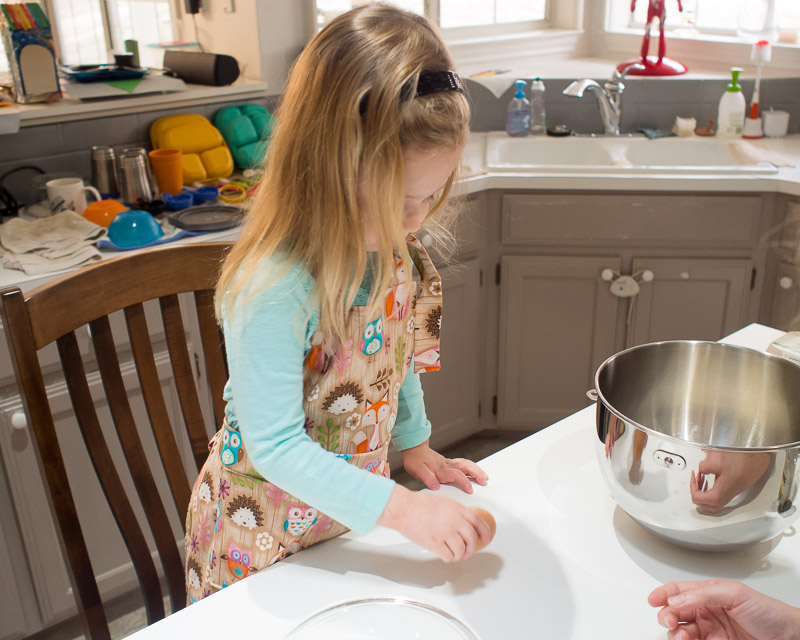
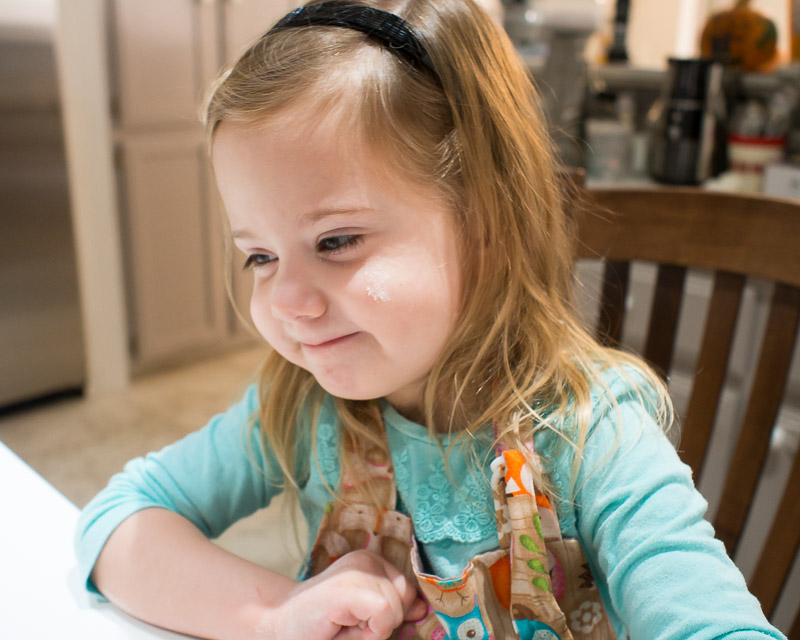
I also try to get the kids in the kitchen as frequently as they’re willing. Maya, who is three, especially likes to be in there. We pull a chair from the kitchen table over to the island where I work so she can “help” me by playing with different kitchen tools, sampling ingredients, dumping things in bowls, and learning to respect sharp knives and hot pans.
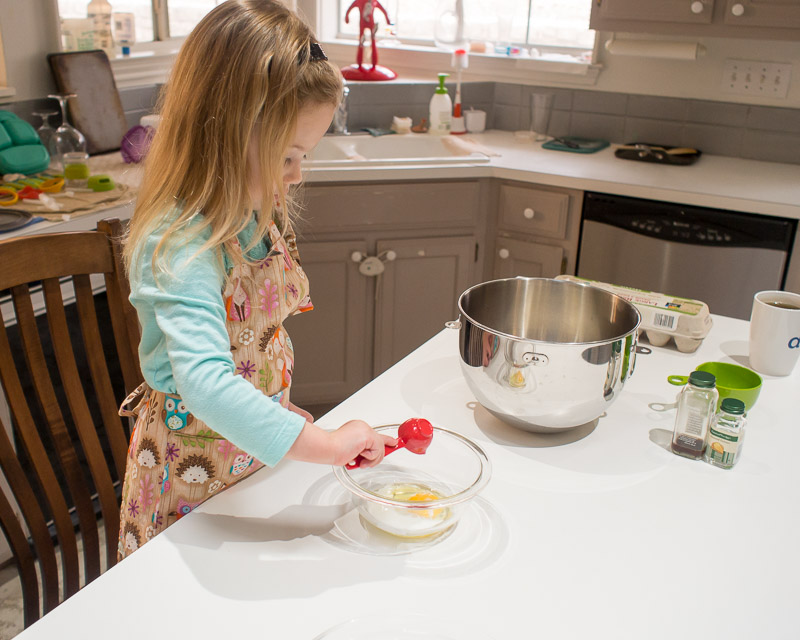
My crowning achievement thus far has been getting her to crack and break open eggs for cooking. She’s really good at it! Ian, the one year old, isn’t quite as interested yet, but he definitely enjoys getting little tastes of whatever we’re working on.
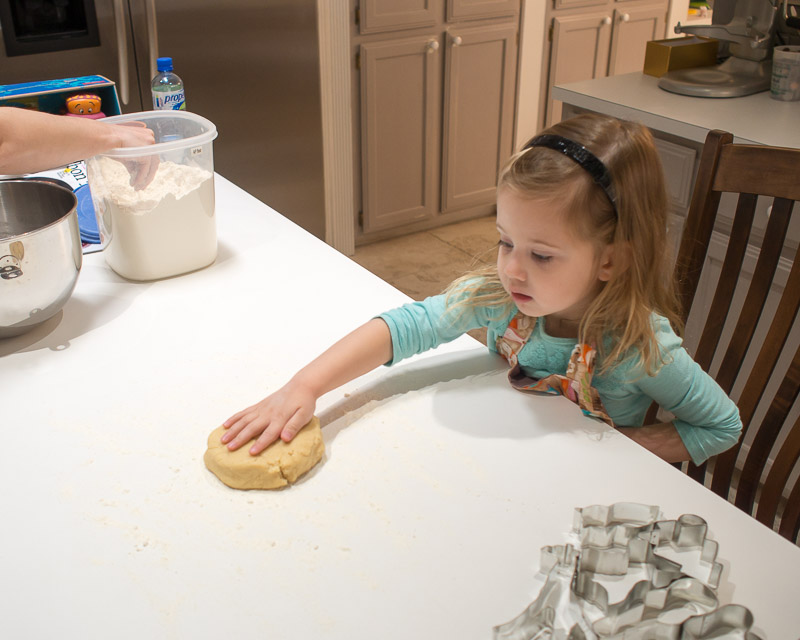
One sure-fire way to get Maya very involved is to make cookies. I had wanted for a while to do roll-and-cut cookies with her, but it took finding the right recipe to encourage me to actually go for it.
So many of the recipes I found had you chilling the dough as a step. I’ve tried to make those recipes. Especially in the summer (you know, April through October here in Texas), the kitchen is just too hot for that not to be frustrating with a pokey little kid helping you out.
And then I found this recipe. I don’t even know how I came across it, but it’s exactly what I wanted. The dough comes together quickly, it requires no chilling, and the cookies hold their shape very well.
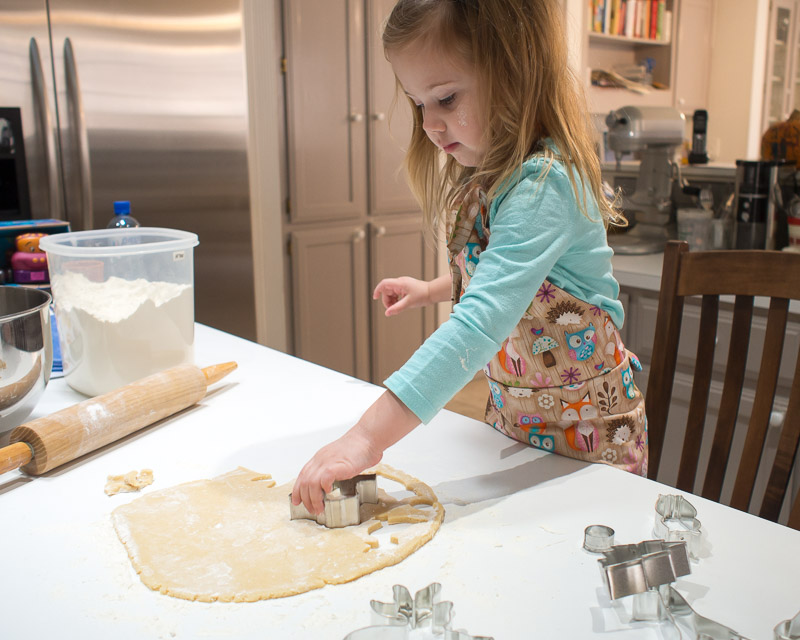
Maya doesn’t quite have the hang of placing the cookie cutters to minimize waste, so we wind up gathering the scraps and rolling them out again a few times. They taste good too, especially with a little dab of icing.
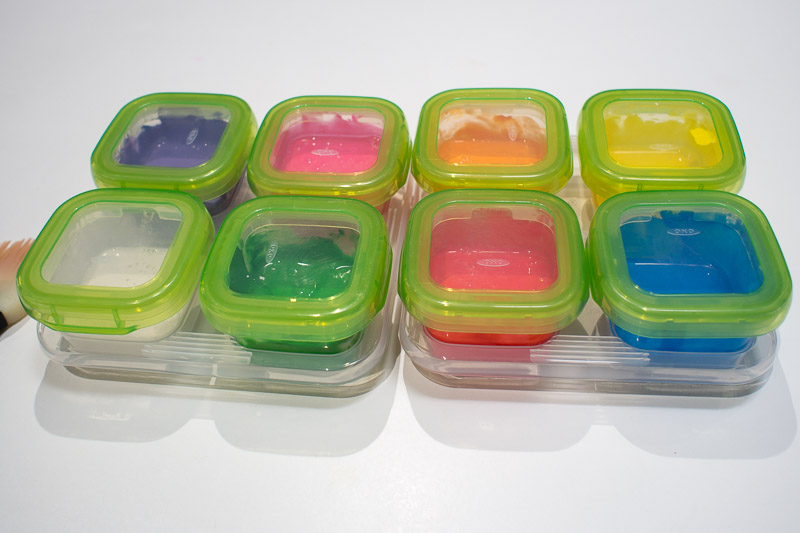
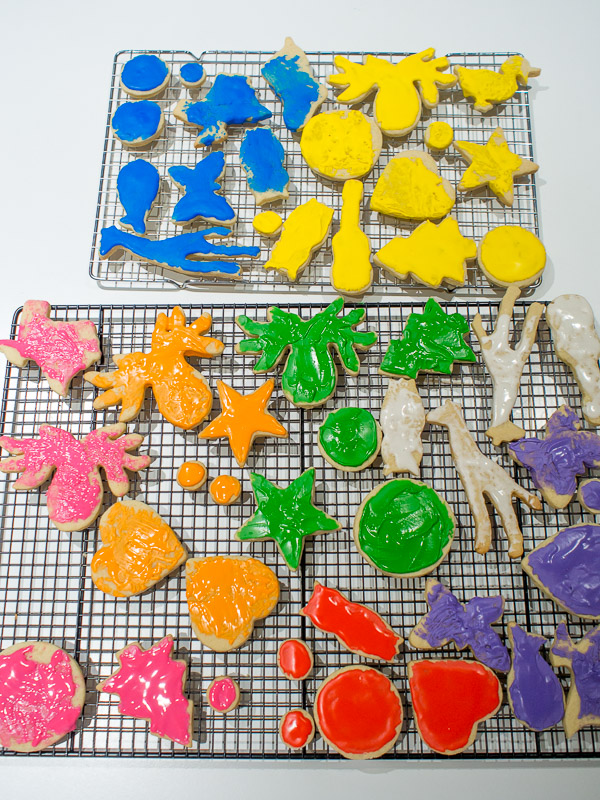
I make a single batch of Wilton’s royal icing and then divvy it between six or eight containers. Maya and I choose which colors we’ll make, and she watches me mix the various gel food colorings into the little containers, commenting on which color we’ll do next.
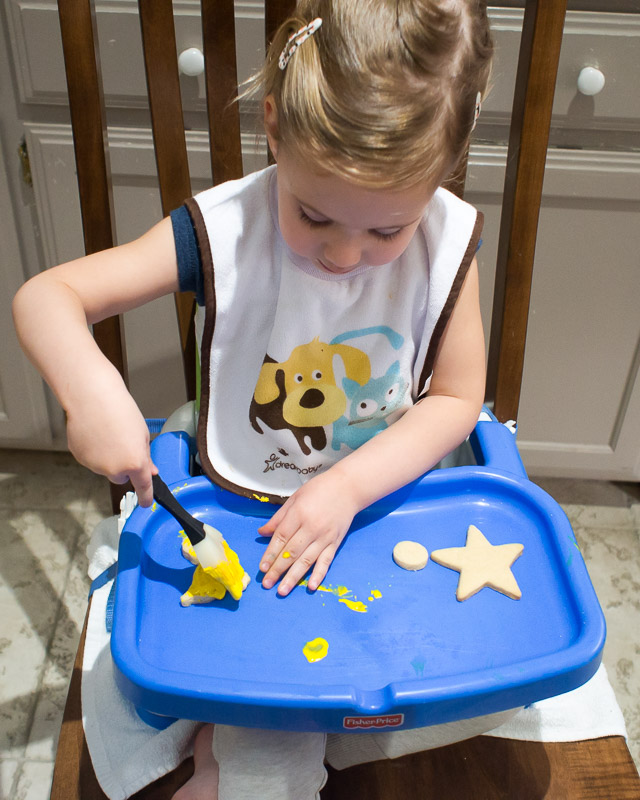
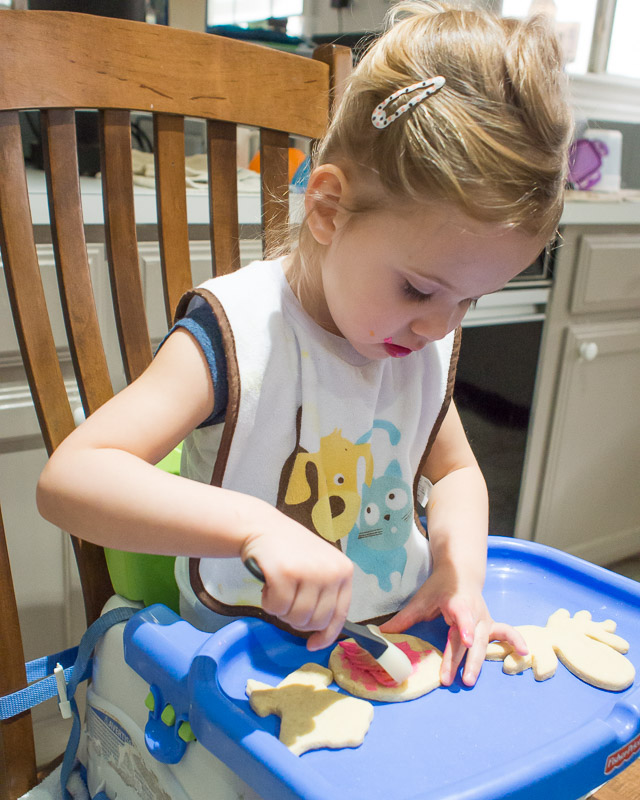
Using an offset spatula is a little tricky for small children, so Maya has been using a silicon brush to paint icing onto the cookies. Sometimes for fun, we sprinkle colored sugar on them as well, but we really haven’t gotten fancier than that.
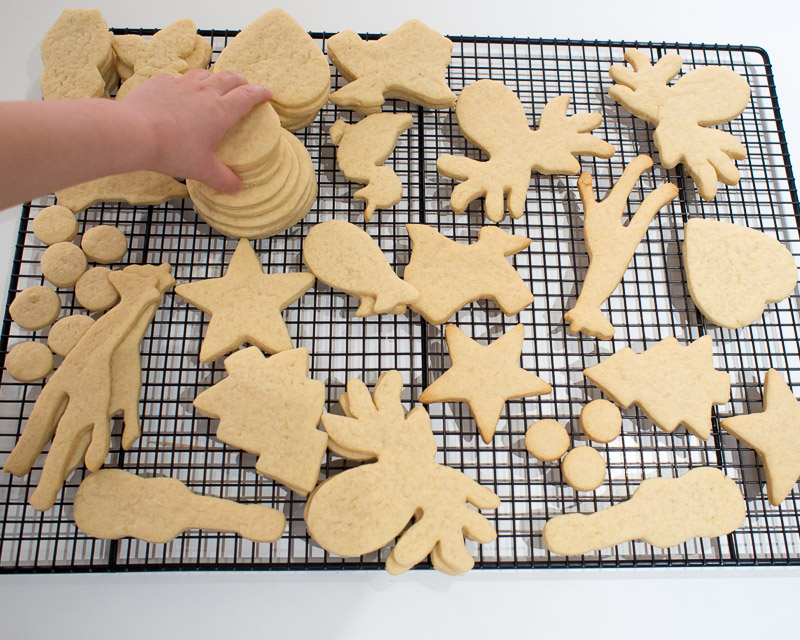
One of the most fun things about this project has been taking her to our local bake shop to select cookie cutters. We have a pretty good pool of them at this point. There are some for Christmas, some for Valentine’s day, lots of animals, and a few other random shapes for good measure.
I am not a naturally patient person, and patience is exactly what it takes to cook with small children. There are lots of stops so Maya can taste things, so she can see whatever tool I’m working with, and so she can try something herself. We also have to stop to use the bathroom, put on her apron, take off her apron, and blow her nose. It’s like taking a curious dog for a walk. They zig and zag all over the place smelling all the smells and examining all the noises, inevitably walking twice as far as they would have, had they gone in a straight line.
If you can give up the notion of following a strict timeline, it’s easier to relax and soak up the joy of watching a kid learn his or her way around the kitchen.

COOKIE CUTTER COOKIES
adapted from Food Network
1 cup unsalted butter, at or near room temperature
1 cup sugar
½ teaspoon salt
1 large egg
2 tablespoons whole milk
2 teaspoons vanilla extract
1 teaspoon almond extract
3 cups all-purpose flour
½ tablespoon baking powder
Preheat the oven to 325 degrees (F).
Mix the butter, sugar, and salt until just smooth and combined. You aren’t trying to beat any air into them. Incorporate the egg, milk, and extracts. The mixture will look lumpy and strange, but fear not, once you add the dry ingredients, it will even out.
Whisk the baking powder into the flour to distribute. Add this to the mixture and combine to form your finished dough.
Line a baking sheet with parchment paper or a silicon baking mat. Lightly flour your work surface and roll the dough out. I split mine in half and work with half at a time. We wind up rolling ours maybe 3/8 to ¼ inch thick and baking them for around 12 minutes. You want them firmed up and just thinking about coloring at the edges.
Remove the cookies to a wire rack to cool completely.
Once the cooled, ice with the royal icing - we use the recipe from Wilton. The nice thing about royal icing is that it will harden and you can stack your cookies up in a storage container without any icing transfer.